I cook... A lot. Here is where I will document, photograph, and review the recipes I make for my family. Eat up!
Wednesday, December 31, 2014
Almond Flax Bread
Saturday, January 8, 2011
Ethiopian Honey Rolls
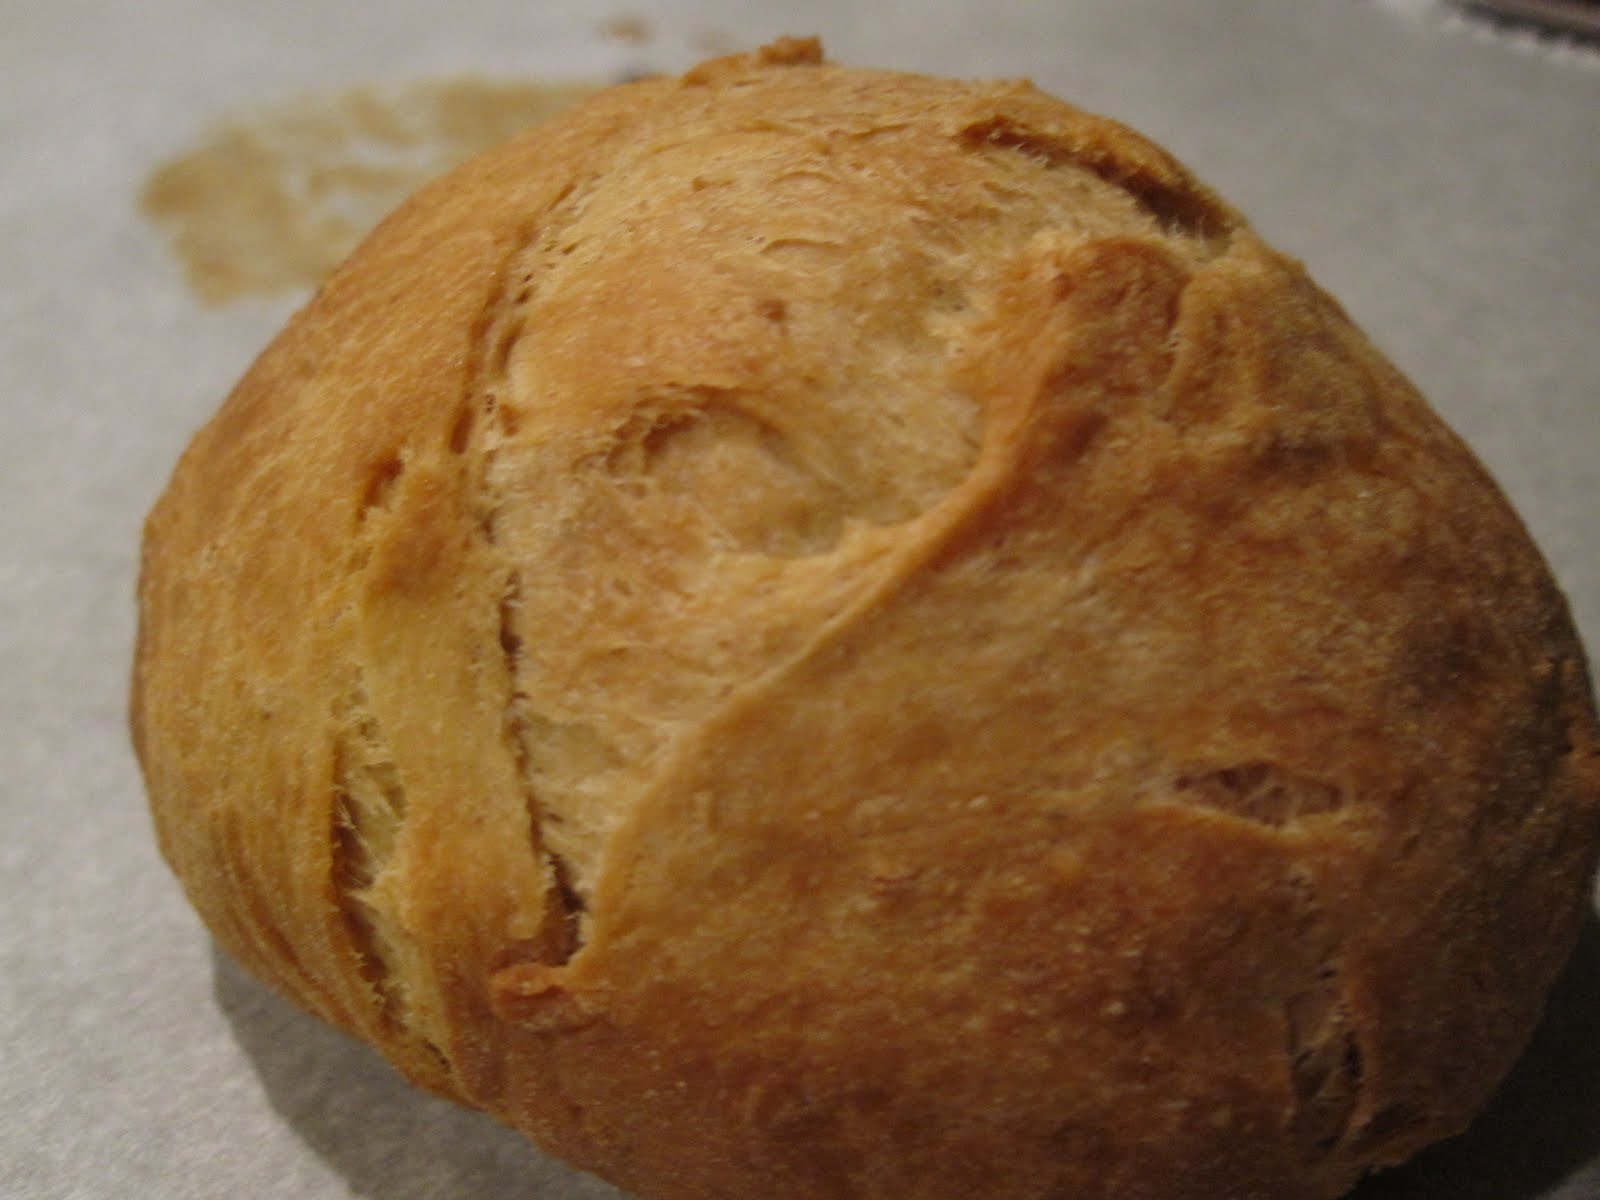
Ethiopian Honey Bread/Rolls (Yemarina Yewotet Dabo)
1 pkg. active dry yeast
1/4 cup lukewarm water (110-115 degrees)
1 egg
1/3 cup honey
1 tablespoon ground coriander
1/2 teaspoon ground cinnamon
1/4 teaspoon ground cloves
1 teaspoon salt
1 cup lukewarm whole milk
6 tablespoons melted unsalted butter
4-5 cups all-purpose flour
In a small bowl, sprinkle yeast over the warm water. Let stand for 3 minutes, then stir to dissolve. Set the bowl in a warm place for about 5 minutes; mixture should double in volume. If it does not, repeat procedure.
Combine the egg, honey, coriander, cinnamon, cloves, and salt in a deep bowl, mixing until smooth. Add the yeast mixture, milk, and 5 tablespoons of the melted butter. Beat until well blended. Stir in flour 1/2 cup at a time, until becomes too stiff to stir.
On a lightly floured board, knead the dough, adding a small amount of flour when necessary to keep from sticking. Knead for about 5 minutes. Place dough in a large, greased bowl. cover with a damp cloth and let sit in warm place for about 1 1/2 hours.
Grease a cookie sheet with the remaining tablespoon of butter. Punch down the dough and knead it again for a few minutes. Shape the dough into a round, and place it on the greased sheet. Preheat the oven to 325 degrees.
Let the bread rise again while oven is preheating. Bake the bread for 1 hour, or until the top is crusty and light golden brown.
Wednesday, December 29, 2010
Anyway, I took this recipe from 101cookbooks, but the author of that blog (Heidi), took it from a Lotta Jansdotter cookbook, called "Handmade Living: A Fresh Take on Scandinavian Style." Anyway, we were having company on Christmas Day, and this recipe really spoke to me. I am a sucker for baking yeast breads, and I had just bought cardamom at Penzey's... So, apparently, I couldn't help myself. These cinnamon rolls are good. Really good. But who cares? They just LOOK so beautiful, it kinda doesn't matter how good they are. Well, I guess it does, but you know what I mean. Anyway, these rolls are so much fun (and easy) to make, and they actually make 2 batches, one of which you can freeze before baking. So, I have another batch, all rolled and ready to bake, sitting in the deep freezer, just begging to be popped into the oven. Mmmmmm... My house smelled so good.
Cinnamon Rolls
4 teaspoons active dry yeast
1 cup warm whole milk (105F to 115F / 40C to 46C) (I used skim - it was totally fine!)
3/4 cup / 100g light muscovado or brown sugar
1 large egg, beaten
1/2 cup / 125g unsalted butter, barely melted
1 tablespoon ground cardamom (I used 1/2 a tbl, because my Penzey's cardamom is known for being super strong)
1 teaspoon fine grain sea salt
4 cups / 600g all-purpose flour
Filling:
1/2 cup / 60g light muscovado or brown sugar
2 tablespoons cinnamon
1/2 cup / 125g unsalted butter, softened
Glaze: (I didn't glaze mine)
1 egg beaten with 1 tablespoon of water
large grain raw sugar or pearl sugar for sprinkling OR you can make an icing to spread on the rolls after baking (recipe below, not pictured)*
Sprinkle the yeast over the warm milk in a large bowl. Add a pinch of the sugar and stir to dissolve the yeast. Let stand for a few minutes or until foamy.
Add the remaining sugar, the egg, melted butter, and cardamom. Stir until smooth. Stir the salt into the flour, then gradually add the flour to the bowl, a bit at a time, incorporating the flour after each addition. Transfer the dough to a floured counter top and knead for 8-10 minutes, or until the dough is smooth and elastic. Transfer the dough to a lightly oiled bowl, turn it to coat with oil, and cover with a kitchen towel or equivalent. Let the dough rise in a sunny or warm place until doubled, about an hour.
Cut the dough in half on a floured counter top and form each piece into a ball. One at a time, roll each piece into a rectangle 12 inches/30cm and 1/2 inch/12mm thick. See the photos up above if this is confusing.
For the filling, start by combining the cinnamon and sugar in a small bowl. Spread half of the butter evenly over one rectangle of the dough. Sprinkle half of the sugar mixture evenly across the butter. Roll the dough up tightly lengthwise, then turn it so that the seam side is down. Cut the roll into 12 equal slices, a serrated knife works best. You can bake these, cut-side up, on a parchment lined baking sheet, in cupcake liners, or in a buttered baking dish. I used a well-buttered standard pie dish. Unless you are using individual cupcake liners, you want to arrange the slices about 1/2-inch from each other on the baking sheet or in the baking dish. They rise and expand, and end up nice and snuggly in/on the pan. Repeat with the remaining rectangle of dough and filling. You can freeze any slices you aren't going to bake at this point.
Cover the rolls you are going to bake with a dry towel and let rise in a sunny or warm spot until doubled, about an hour. The timing is pretty flexible here - you can go a few hours depending on what is convenient.
Heat the oven to 400F/ 205C with a rack in the top third. Brush the buns with the egg wash and sprinkle with sugar if you like. Bake the buns until golden brown, roughly 15-18 minutes. Don't over bake, the buns will dry out = not as good. Remove from the oven and serve warm if possible, plain or with a slather of icing* on top of each bun.
*Icing recipe: as I mention up above, this is the icing I also use for these hermit cookies. I like to spread a bit on each individual roll before serving or serving the icing on the side with a palette knife for individual spreading. Whisk 1 cup / 3.25 oz / 100g sifted powdered sugar, 4-5 tablespoons heavy cream, and 1 teaspoon vanilla extract or 2 tablespoons bourbon or brandy together in a small bowl. Let sit for a few minutes, then adjust with more sifted powdered sugar if you want a stiffer icing. I'm going to do a creme fraiche version of the icing on Christmas - trading out the heavy cream for creme fraiche.
Adapted from the Cinnamon Bun recipe in Lotta Jansdotter's Handmade Living: A Fresh Take on Scandinavian Style by Lotta Jansdotter.
Prep time: 150 min - Cook time: 20 min
Monday, November 22, 2010
Cloverleaf Honey-Wheat Rolls
We had a couple of friends over this weekend, and their girl, Eve. I decided to make dinner, but I held back from making anything new, since I've always heard that that's an entertaining faux pas. I made Szechwan Chicken Meatloaf, with the Sukiyaki Stir Fry. I decided to try these honey-wheat rolls, because I've been eyeing the recipe for a year now, and I didn't think it could hurt, to try one itty bitty new recipe.
These rolls are really good. Well, fantastic. Let me put it this way: There were 4 adults, and 3 babies eating dinner. We had a dozen rolls. Between the 7 of us, we ate all but 1. They are a great consistency, with a nice light, sweet flavor. They are called "Cloverleaf Rolls," because they are meant to rise into 3 distinct peaks, like a clover. Well, mine didn't "peak" like the photo on the Cooking Light website, but they certainly tore into 3 flaky pieces, which made them really pretty, and easy to eat. They are also extremely easy to throw together (if you have a Cuisinart or Kitchen Aid Mixer). I decided to make 2 more batches for Thanksgiving. This is a great, solid recipe. What's better than home baked bread?
Cloverleaf Honey-Wheat Rolls
Bake these rolls up to a day ahead; store at room temperature in a zip-top plastic bag, or freeze them for later. Wrap the rolls in foil and reheat at 350� for 10 minutes or until warm.
Yield: 1 dozen (serving size: 1 roll)
1 package dry yeast (about 2 1/4 teaspoons)
1 cup warm water (100� to 110�)
2 cups bread flour, divided
1 cup whole wheat flour
3 tablespoons honey
2 1/2 tablespoons butter, melted
1 teaspoon salt
Cooking spray
1 tablespoon water
1 large egg
Dissolve yeast in 1 cup warm water in a large bowl; let stand 5 minutes. Lightly spoon flours into dry measuring cups; level with a knife. Add 1 1/2 cups bread flour, whole wheat flour, honey, butter, and salt to yeast mixture; stir until well blended. Add 1/4 cup bread flour; stir until a soft dough forms.
Turn dough out onto a floured surface. Knead until smooth and elastic (about 8 minutes); add enough of remaining bread flour, 1 tablespoon at a time, to prevent dough from sticking to hands (dough will feel tacky).
Place dough in a large bowl coated with cooking spray, turning to coat top. Cover and let rise in a warm place (85�), free from drafts, 1 hour or until doubled in size. (Press two fingers into dough. If indentation remains, the dough has risen enough.) Punch dough down; cover and let rest 5 minutes.
Preheat oven to 425�.
Coat 12 muffin cups with cooking spray. Divide dough into 12 equal portions. Working with 1 portion at a time, divide each portion into 3 pieces; shape each piece into a ball (cover remaining dough to prevent it from drying). Place 3 balls in each muffin cup. Cover and let rise 25 minutes or until doubled in size.
Uncover dough. Combine 1 tablespoon water and egg; brush over rolls. Bake at 425� for 12 minutes or until lightly browned. Serve warm.
CALORIES 152 (18% from fat); FAT 3g (sat 1.6g,mono 0.9g,poly 0.2g); IRON 1.5mg; CHOLESTEROL 24mg; CALCIUM 4mg; CARBOHYDRATE 27.3g; SODIUM 206mg; PROTEIN 5.1g; FIBER 2g
Cooking Light, SEPTEMBER 2002
Sunday, October 24, 2010
Black Pepper-Fennel Breadsticks
What a great week! Here's what happened:
Thursday: Received my "Everyday with Rachael Ray" mag in the mail. Score!
Friday: Received my "Cooking Light: Holiday Double Issue" in the mail. Super score!
Saturday: Received my "Food Network" magazine in the mail. I am in heaven.
Since I had made a vat of pumpkin soup on Thursday, I decided to whip up Rachael Ray's breadsticks on Friday morning. They are really easy to make, and I've been dying to try these fennel seeds I bought at Penzey's (a.k.a. the best spice shop on earth). The breadsticks were tasty, though I'm not the biggest fan of fennel. Next time, I will make them with fresh rosemary instead. The thing about these breadsticks, is that they really should be made and eaten immediately. The following day, the sticks had lost their crunch, and had a hybrid crunchy/soggy texture. Blah. Anyway, I might make them for Turkey Day, but I need to figure out how I can do it without them tasting old... Any ideas for me?
Oh, and also, Rachael Ray doesn't post her recipes to the magazine website until the actual month of the magazine. So, I got November last week, but she won't post the recipe until it actually becomes November (how dare she). So, when it is posted, I will put it on the blog. I just can't bring myself to type it out. But... you should come for Thanksgiving, so you can try these bad boys. They were a nice soup addition. Gotta love a good breadstick.
R
Friday, August 13, 2010
Just Playing Around...
Monday, August 9, 2010
Challah Baking Frenzy.
No-Knead Challah
from Artisan Bread in Five Minutes a Day by Jeff Hertzberg and Zoe Francois
Makes four 1-pound loaves. The recipe is easily doubled or halved.
1 3/4 cups lukewarm water
1 1/2 tablespoons granulated yeast (2 packets)
1 1/2 tablespoons salt
4 large eggs, lightly beaten
1/2 cup honey
1/2 cup unsalted butter, melted (or neutral-tasting vegetable oil such as canola), plus more for greasing the cookie sheet
7 cups unbleached all-purpose flour
Egg wash (1 egg beaten with 1 tablespoon of water)
Poppy or sesame seeds for the top
1. Mixing and storing the dough: Mix the yeast, salt, eggs, honey, and melted butter (or oil) with the water in a 5-quart bowl, or a lidded (no airtight) food container.
2. Mix in the flour without kneading, using a spoon, a 14-cup capacity food processor (with dough attachment), or a heavy-duty stand mixer (with dough hook). If you're not using a machine, you may need to use wet hands to incorporate the last bit of flour.
3. Cover (not airtight), and allow to rest at room temperature until the dough rises and collapses (or flattens on top), approximately 2 hours.
4. The dough can be used immediately after the initial rise, though it is easier to handle when cold. Refrigerate in a lidded (not airtight) container and use over the next 5 days. Beyond 5 days, freeze in 1-pound portions in an airtight container for up to 4 weeks. Defrost frozen dough overnight in the refrigerator before using. Then allow the usual rest and rise time.
5. On baking day, butter or grease a cookie sheet or line with parchment paper, or a silicone mat. Dust the surface of the refrigerated dough with flour and cut off a 1-pound (grapefruit-size) piece. Dust the piece with more flour and quickly shape it into a ball by stretching the surface of the dough around to the bottom on all four sides, rotating the ball a quarter-turn as you go.
6. Divide the ball into thirds, using a dough scraper or knife. Roll the balls between your hands (or on a board), stretching, to form each into a long, thin rope. If the dough resists shaping, let it rest for 5 minutes and try again. Braid the ropes, starting from the center and working to one end. Turn the loaf over, rotate it, and braid from the center out to the remaining end. This produces a loaf with a more uniform thickness than when braided from end to end.
7. Allow the bread to rest and rise on the prepared cookie sheet for 1 hour and 20 minutes (or just 40 minutes if you're using fresh, unrefrigerated dough).
8. Twenty minutes before baking time, preheat the oven to 350-degrees F. If you're not using a stone in the oven, 5 minutes is adequate. Brush the loaf with egg wash and sprinkle with the seeds.
9. Bake near the center of the oven for about 25 minutes. Smaller or larger loaves will require adjustments in baking time. The challah is done when golden brown, and the braids near the center of the loaf offer resistance to pressure. Due to the fat in the dough, challah will not form a hard, crackling crust.
10. Allow to cool before slicing or eating.


